How to Use a Speed Square: Rafter Angles, Pitch & Scribing Guide
Published: September 20, 2026 • Written by Master Carpenter Jack Mercer • Fact Checked
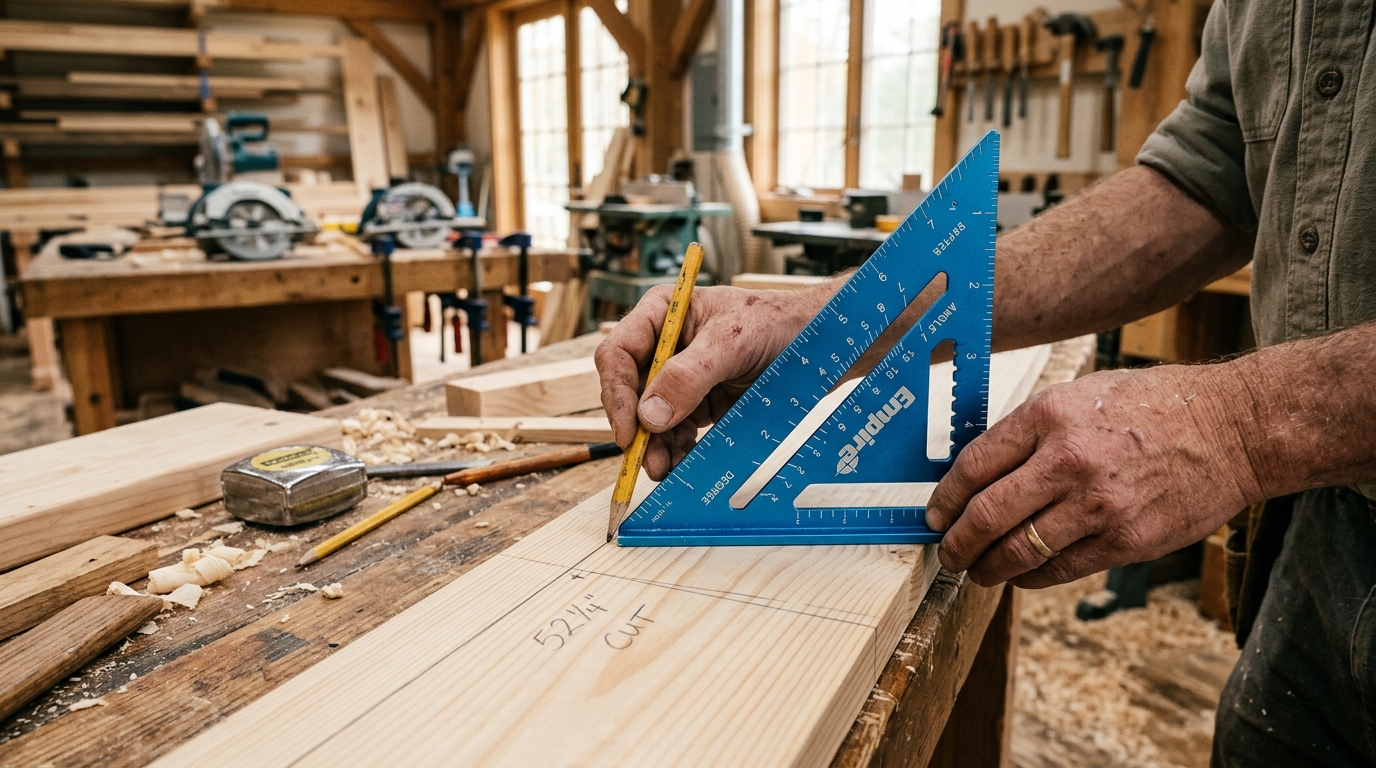
Originally invented by Albert J. Swanson in 1925, the 7-inch triangular speed square (also called a rafter angle square or pocket square) is arguably the most versatile hand tool in a framing carpenter's tool belt. It functions as a try square, miter square, protractor, saw guide, and scribing gauge all in one rigid piece of cast aluminum.
While most homeowners only use it to mark a quick 90° crosscut line on a 2x4, the speed square contains specialized scales that can calculate complex roof pitches, plumb cuts, hip rafter angles, and parallel rip offsets in seconds.
Anatomy of the Speed Square: 5 Key Features
1. The T-Lip (Fence): The thick raised shoulder along one of the 90° legs. This lip hooks securely over the edge of a board, locking the square at an exact 90° or 45° angle with one hand.
2. The Pivot Point: The sharp 90-degree corner marked "PIVOT". Every angle and rafter pitch measurement pivots from this precise fulcrum.
3. The Degree Scale: The long diagonal hypotenuse edge is etched with degree marks from 0° to 90°. Rotating the square about the pivot aligns any chosen degree cut.
4. Common Rafter Scale ("COMMON"): Located inside the hypotenuse, this scale is graduated in inches of rise per 12 inches of run (e.g. 4-pitch, 6-pitch, 8-pitch roof rafters).
5. Hip & Valley Scale ("HIP-VAL"): Calibrated specifically for cutting hip and valley rafters, which sit at a 45° diagonal across the building corners.
How to Mark Any Angle (Using the Pivot Point)
Marking custom angles (such as a 30° brace or a 22.5° octagonal cut) takes three simple steps:
- Hook the lip of the speed square flush against the edge of the board.
- Press your thumb firmly against the PIVOT corner, pinning it to the board edge.
- Swing the body of the square away from the board until your desired degree marking on the hypotenuse aligns perfectly with the edge of the board.
- Draw your pencil line along the perpendicular straight leg. That line is your exact cut angle.
Using the Speed Square as a Circular Saw Fence
Freehanding a circular saw across a 2x10 or 2x12 frequently results in wandering cuts, binding blades, and uneven framing joints. Your aluminum speed square makes a portable, rock-solid saw guide:
| Step | Action | Pro Tip |
|---|---|---|
| 1. Mark the Cut | Measure your desired board length with your tape measure and make a pencil "crow's foot" tick. | Always cut on the waste side of the line to protect the target dimension. |
| 2. Position the Saw | Place the blade of your circular saw directly on your mark with the motor off. | Ensure the saw shoe plate is flat against the lumber surface. |
| 3. Slide the Square | Slide the speed square's straight edge firmly against the metal baseplate of the saw. | Clamp the square or hold it firmly with your non-dominant hand well clear of the blade path. |
| 4. Make the Cut | Start the saw at full RPM, push forward steadily, keeping the saw shoe pressed tight against the square. | Result: a 90° cut that rivals the accuracy of a high-end compound miter saw. |
The Scribing Trick: Ripping Parallel Lines Without a Ruler
Most modern speed squares feature a series of small, V-shaped notches spaced at 1/4" or 1/8" intervals along the inner triangular cutout. You can use these notches to scribe perfectly parallel rip lines along long 8-foot or 12-foot boards:
- Hook the speed square lip over the lumber edge.
- Place the tip of your pencil into the notch corresponding to your target rip width (e.g. 2-1/2").
- Pull both the speed square and pencil smoothly down the length of the board together. The lip acts as a rolling fence while your pencil draws a dead-straight reference line.